




































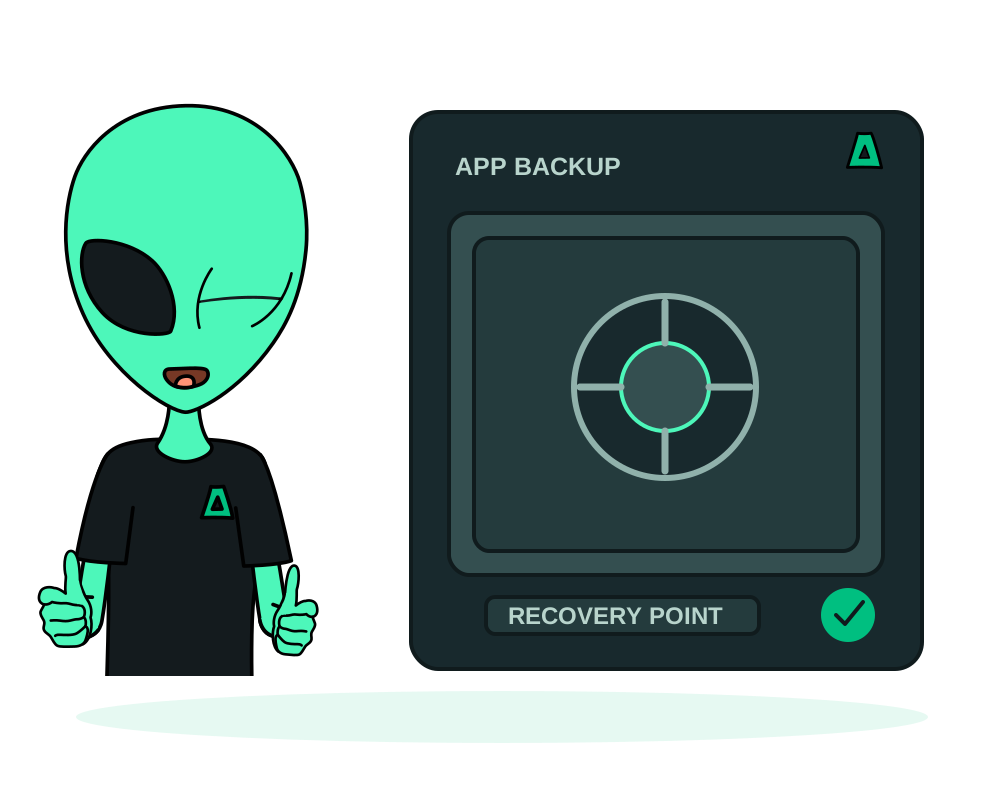
Impreza app backups save supported deployment data to the Impreza S3 storage associated with your account. You can request a backup, check its result and restore a completed copy into the original app or a compatible destination through the platform’s app backup tools.
Before your first backup
Use an app managed by the Impreza Agent on a supported server. The app must be running to start a backup, the agent must be available, and another backup or restore must not already be running for that app. Check the S3 service and its available capacity in your account. The first manual backup can attempt to prepare storage when an eligible service is available; review the resulting storage status rather than assuming it is ready.
This integrated flow uses Impreza S3. It does not ask you to connect an arbitrary external S3 bucket. Check your current storage plan for capacity and pricing.
Know what the backup covers
For ordinary non-database apps, the file backup includes the deployment’s data directory and named volumes detected from its Compose configuration. Eligible standalone catalog database apps use the logical-export workflow below instead of copying their live database data directory. Review custom bind mounts, external databases and remote file storage separately. Files outside the covered paths need their own recovery plan.
An app backup does not capture the whole operating system, every application on the VPS or every external integration. Keep deployment configuration and access recovery information in a secure place. Do not delete the source app’s deployment record: the integrated restore currently needs it to identify the original application.
Database recovery needs an extra check
File backups and verified managed database dumps have different guarantees. For eligible PostgreSQL and MariaDB service bindings, agent 0.6.18+ adds an engine-native dump and mandatory restoration into a temporary verification database before reporting success. Check that your binding and agent advertise the required backup capability. An offline provider, pending credential change or incompatible binding can block the operation.
A verified dump does not make database data and filesystem volumes one atomic application snapshot. MariaDB currently supports InnoDB tables only; views, triggers, routines, events and other table engines are refused. Avoid schema changes during the backup. This binding workflow does not define the separate standalone database-app format below. Unsupported layouts still need their own native backup procedure.
A successful check verifies the documented dump and table checks, not every business rule in your app. Follow managed database recovery to restore into a new database without overwriting the serving database.
Verified backups for standalone database apps
Eligible PostgreSQL, MySQL, MariaDB and MongoDB catalog apps now use an engine-native logical export instead of a hot copy of the database files. Before the backup can succeed, the platform restores that export into an isolated temporary database and checks it, then uploads the backup to your account’s Impreza S3 storage. An accepted request is not a completed, verified backup.
| Standalone engine | Consistency and limits |
|---|---|
| PostgreSQL | A custom-format export per database plus global roles. Each database has its own snapshot, not one transaction snapshot across every database. |
| MySQL and MariaDB | A transaction snapshot per InnoDB database, including routines, triggers and events. Other table engines are refused. Avoid schema changes during the backup. |
| MongoDB | Per-document consistency, not a point-in-time snapshot across collections or databases. Pause application writers when you need stronger consistency. |
This covers the standalone database app, not an internal database bundled inside another catalog app. It does not add Redis logical backups, continuous replication, automatic failover or a shared atomic snapshot with application files. The managed PostgreSQL/MariaDB binding flow above keeps its own eligibility and object restrictions.
The stored deployment must identify the exact database image by digest. If an older deployment has only a mutable image tag, keep it running and ask support to pin the exact official image already in use. Do not redeploy from the latest catalog, change the database version or delete the app to bypass that refusal. Existing deployments are not migrated automatically.
Choose the matching restore workflow
Restoring a standalone database-app backup replaces the target app’s database data, restores customer accounts and grants, and applies its current administrative credential. The target is stopped for the exchange: plan downtime, review compatibility and wait for the terminal result before resuming writes. This differs from managed binding recovery into a new database, which leaves the serving database unchanged.
Older file-format backups remain restorable with a consistency warning. They do not become verified logical dumps after an update. Take and check a new eligible backup, then test representative records and application behavior; export checks cannot prove every business rule. Read the standalone database backup requirements before relying on the format.
Create and check a recovery point
- Identify the app and server, then inspect the existing backup history, schedule and storage capacity.
- Request a backup for that specific app. Save the returned job or backup ID.
- Follow the job until it reports success or failure. Do not treat an accepted request as a finished backup.
- Record the successful backup ID and timestamp. Check the reported size and result before a restore or maintenance change.
For an assistant, start with a read-only request:
Show the backup history and schedule for my selected app. Check the storage status and tell me what needs attention before creating a backup.
Then authorize the specific operation you intend to perform. Keep secrets out of prompts and use an authorized connection with the required permissions.
Review the schedule and retention
Check the app’s actual schedule and retention settings. Scheduled runs depend on the app, agent, storage and scheduler being available. They do not create storage for an account that has none, so complete and verify the first manual backup before relying on the schedule.
Scheduled retention removes older scheduled copies after a new scheduled backup succeeds. Manual backups are handled separately and still consume storage. Review the latest successful run regularly, including when you use an account without email; do not rely solely on an email alert.
Restore and verify
Choose a completed backup and confirm the target app. Plan a maintenance window, manage application writes and workers, and ensure the target has room for staged restored data plus the data displaced by the restore. The operation can restart or recreate containers and interrupt service.
The restore checks the backup parts against their SHA-256 checksums before applying the restored files. These checks detect integrity problems; they are not an encryption guarantee. The previous data is moved aside on the target disk. That local copy uses space and is not a separate off-server backup.
Agent 0.6.25 adds safer file restoration: it stages and verifies the archive while the application remains running, stops the application for the data exchange, then starts the same containers again. If the exchange fails, it puts the previous data back. After an agent restart, it resumes the interrupted operation; the app stays stopped while a restore job may still be writing. If the job cannot be confirmed stopped, the operation is held for review instead of starting the app on changing files. Existing servers need an explicit agent update to receive this behavior. It does not make a running database file backup transaction-consistent or replace the separate managed database recovery workflow.
After the operation, inspect app status and logs, sign in, open representative files or records, and test the features your users depend on. Resume traffic and writes only after validation. Remove displaced data only when you have confirmed recovery and no longer need it.
If you delegate restoration to an AI credential, review its permissions and human approval policy before submitting the operation. The policy is off by default. A human approval, when required, authorizes the exact call; it does not certify the backup or replace the recovery checks above.
Download a completed backup
Use Download on the completed backup or impreza_download_backup. The result provides temporary URLs for the manifest and required chunks in your own storage. They expire after five minutes. Download every part described by the manifest; do not put these access-bearing URLs in tickets, chat transcripts or repositories.
This provides backup files, not a completed recovery. Bucket credentials are not returned, and backup bytes do not pass through the portal. An incomplete backup or unreadable manifest cannot be downloaded through this workflow.
Restore a managed database separately
For an eligible verified dump, use Restore database to a new database, or prepare and review the operation through MCP. Check the source, provider, new database name and expiry, then confirm the exact review. Follow the job and inspect the recovered data.
The serving database is not overwritten, and the application is not repointed automatically. Plan any later cutover separately. PostgreSQL recovery tools require local MCP 0.39.0+; use MCP 0.40.0+ for current MariaDB guidance. Read the database recovery guide for requirements and limits.
Use the latest restore safeguards
Agent 0.6.32 preserves restore waiting deadlines across restarts instead of restarting the wait from zero. If a restore job disappears during the data exchange, the Agent reports that failure and brings the app back when nothing was changed. Read the actual result before retrying; a restart is not proof of recovery.
When a restore journal cannot be verified, the affected app remains held for support review. Onion address rotation or removal, receiving a failover and traffic switches toward that app are refused. Health checks, logs and moving traffic away remain available. Keep the command ID and contact support instead of deleting the journal or repeating a write to bypass the hold.
The Agent also removes a completed backup job’s working folder after the control plane acknowledges its result. That cleanup removes temporary work on the server; it does not delete your S3 backup or the previous data kept aside by a restore. Existing machines need an explicit Agent update.
For a reviewed Memos or Uptime Kuma app, Protect this app can guide preparation and testing of a cold copy in another country. It is separate from an ordinary restore and never changes traffic automatically.
With Agent 0.6.33, a full queue of acknowledged backup cleanups no longer blocks the next command. This is cleanup of temporary work, not a new recovery point or permission to delete stored backups. Existing agents still need an explicit update.
If the operation fails
Check the job result, agent connectivity, storage quota and destination disk space. A failed or incomplete backup is not a usable recovery point. Preserve the last successful copy while investigating. If the app does not recover correctly, retain the job ID and logs and contact support before removing data or repeatedly restoring over the same target.
A network failure while reporting an operation’s result is different from a failed restore. With Agent 0.6.26, that reporting failure alone no longer marks the app for recovery review. Existing servers need an explicit Agent update. Inspect the original job result and current app state before starting another restore.
This does not remove the safeguards above: a restore that may still be writing or whose outcome cannot be verified still needs review. Follow deployment recovery for interrupted operations; a missing response is not proof that your data was restored.
For a different server, follow the app migration guide. For recovery of the virtual machine itself, use the separate VPS management guide.