This article looks at why a Global Domains International Website is so easy to build using the inbuilt editor. It means almost anyone can start their business online and built their website by themselves with needing expensive web designers. Choosing Global Domains International means they have the best chance of getting domain name they want as well with a .ws ending.
When you join up with Global Domains International through your upline sponsor one of the first things you do is choose your domain name and check out that it is free. This is important and you should spend a couple of days deciding before making the final commitment. Decide what business you are wanting to promote, or what goals you have for your website. If selling a product make the domain name something thats easy to remember and relates to your business. If your website is for personal or family use, or to promote a community group choose a domain name that is your name, or community group’s name. The choices are endless and there are still plenty of .ws domain name options available.
Once your account is up and running – which with GDI is almost instant you are given your log in codes and URL’s to various parts of your new business and website. The various promotion pages and movies with your ID code. This code is separate from your domain name and acts as your affiliate link so anyone you bring into the program is credited to your downline.
Another URL address gives you access to your main account. From here you can access numerous options including accessing the affiliate information – hit logs, advertising information/ material, invite program, downline list, banners and commissions log. All very easy to follow and use. Also you can enter the GDI forum here and can get advice and information from thousands of other GDI members. There are also places to choose how you are paid your commissions.
There is also a place to set up your email, your password, and importantly a place to request support. I found the response to the one time my site experienced a problem to be very quick. I put in a support message before going to bed and by the time I woke up it was fixed. My network uptime has also been top notch with no problems.
I have a number of businesses online, an article-directory, an ebook store and others ventures on several different hosts – Blogger, GoDaddy and also HostMonster. Both GoDaddy and HostMonster are excellent and cost effective, but both require a large amount of user knowledge and skill in order to have your website up and running. They are not for the average novice. Global Domains International websites are different in that even a novice can quickly learn to built a 10 page website thanks to the inbuilt editor or Sitebuilder.
You enter your domain through the ‘domain’ tab and then click on ‘built my website’. From there click on create new page. I find it easiest just to click this 10 times and create 10 pages. There are a number of templates and designs you can choose from, choose a theme that fits in with your aim. Next click on the edit button and the page comes up. At the bottom of the page there are three display options, Design, HTML, and Preview. Design allows easy typing in of text and importing photos. HTML is for seeing your HTML code and the easiest place to copy and paste your banner codes and affiliate codes. The preview gives a hint of how your site will look. When you click you can choose what to insert – click just blank place holder or click the options of adding HTML code – this is the easiest way then you just have to click edit. Create a number of placeholders. If you don’t use them you can always delete them later. Remember you can only have two thousand characters per placeholder. For large pages just simply create more placeholders. Ten should give you plenty of options.
Above the page is a number of options with the layout similar to a word processor – very simple – font, text size, text colour, import photo (you will be required to upload the file to your gallery first – do this by simply uploading the picture file off your desktop), and a button to add URL link. These are the major buttons to build your website. Its easiest to just type your text first and then highlight the portions you want to change the size, color, bold, underline, etc.
The add URL link button is easy to use just click and highlight the text you want to add a URL link to and a box with come up with the link – type in your link [http://www.mygreatsite.ws]. Although your website comes with tabs it can be handy to put a link to the next page at the bottom of your page (i.e. NEXT PAGE – highlight it and add a URL link – [http://www.yoursitename.ws/page2.html] – only the ‘NEXT PAGE’ will be display but when you click on it, it will take the reader to the next page. If you want to get really fancy include page numbers and a link to each page – though this is more time consuming to do and I want my visitors to go from page to page in a specific order).
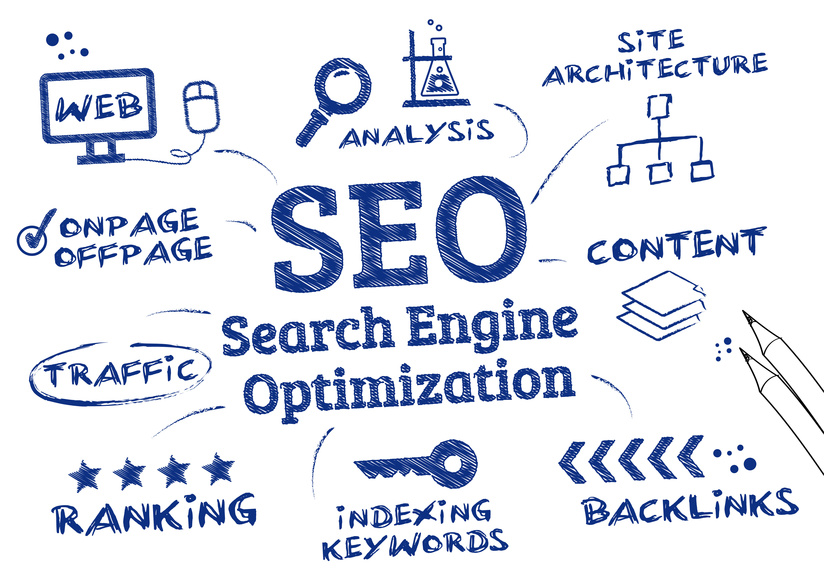
Within the editor you can also edit the ‘properties’ and ‘additional properties’ of the page. This includes title, page title, meta tags, and page description – all of which helps with search engine optimization.
These basics should get you started, from there your imagination is the only limit.
